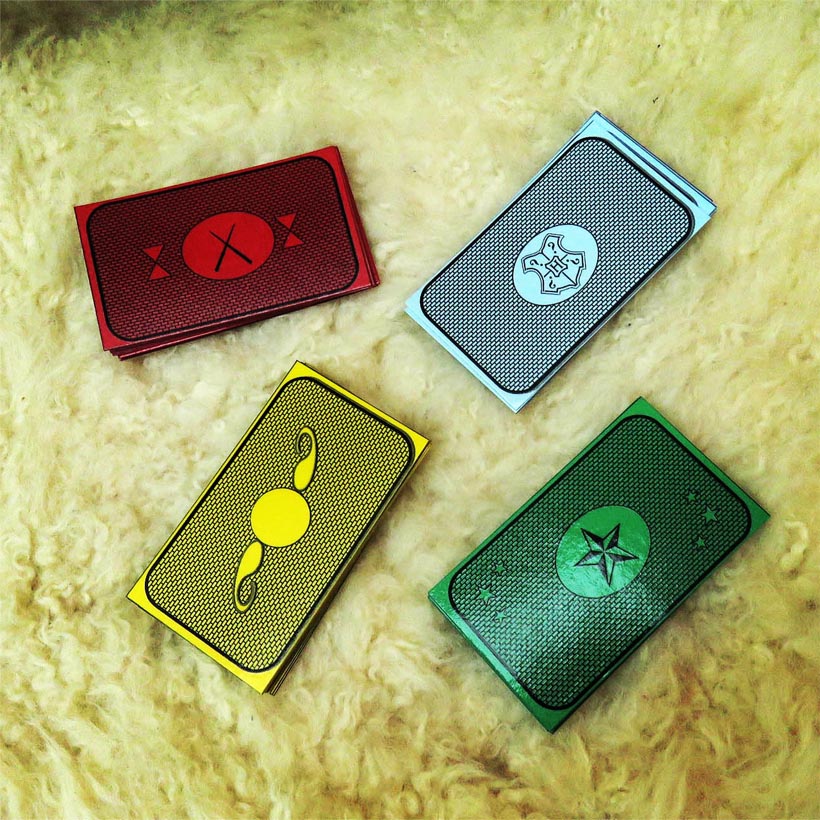
Laminating your playing cards will make them resistant to moisture, easy to shuffle and overall make them feel more like proper cards.
You will need:

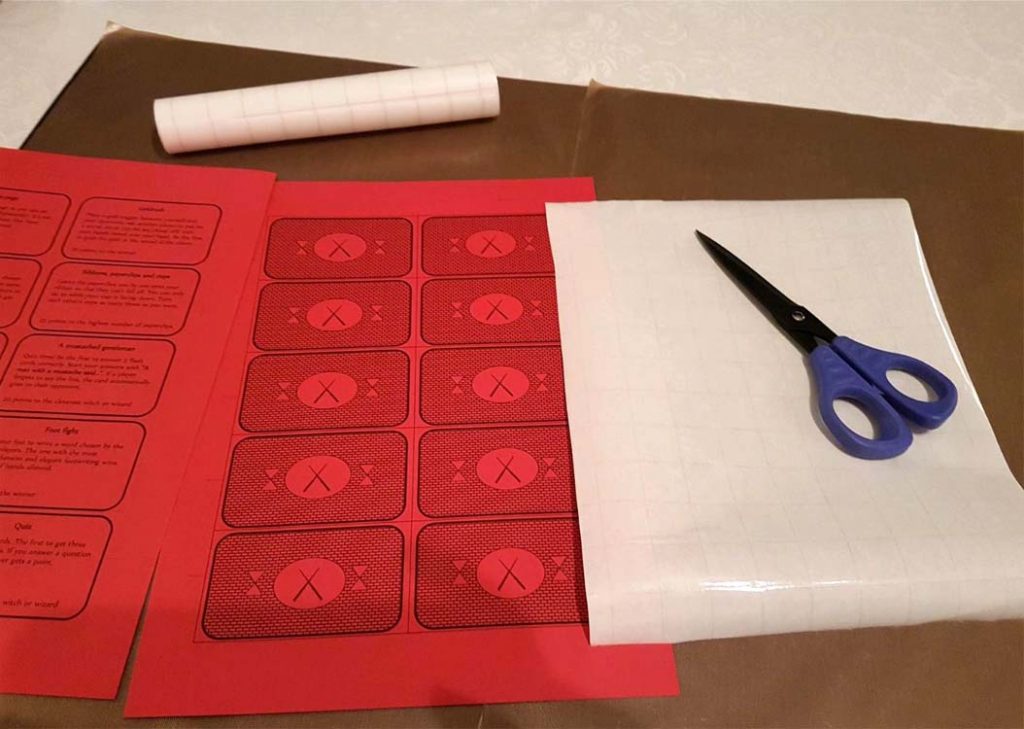
- Self-adhesive book cover plastic.
-Do not use regular laminating pouches, they are too inflexible and slippery. - A laminating machine (recommended) or a dry iron (disable the steam!)
- A paper cutter or scissors
- The finished printout of your cards. (You find detailed instructions on how to print the playing cards in the game download: MischiefAtHogwarts_Part2 > Playingcards)
- If you’re using a dry iron: Baking sheets
- A ruler to help transfer the plastic more easily on to the paper

Start by cutting out a piece of the self-adhesive plastic book cover.
Make sure it is large enough to cover the print and then some.
Carefully peel off part of the backing and glue down the top part of the book cover – a little above the beginning of the print.
Smooth out any air bubbles with your fingers.
The top part of the plastic is now glued to the paper.
Use your hands or a ruler to gently smooth the plastic sheet on to the paper.
Once you’ve covered both sides of your page with the plastic cover, (the green sheet isn’t covered with plastic in this picture to avoid glare), cut away the outer edges/margins only, by following the the printed frame:

The image side of the cards has the cutting guide, the text side does not.
Once you’ve removed the outer frame as shown above you can Heat laminate the page with either a laminating machine or a dry iron. (The green sheet isn’t covered with plastic in these pictures to avoid glare). Follow the instructions on your laminating machine and laminate the cutout page as you normally would.
If your using a dry iron: Use baking sheets to cover the front and back of your page. Set the heat to low on your dry iron (or turn off the steam function if you have a steam iron). Gently iron the page, without letting the iron rest on one spot. Turn the page over and repeat the process. The laminating is finished when the plastic is melted onto the paper. The plastic sheet can no longer be easily peeled off the paper, the print and colour looks more vibrant and the surface is less shiny and slippery.
Once you have heat laminated the page it’s time to cut out your cards.
First cut your finished laminated page in two by cutting down the middle line of the two rows, so that you are left with one row of cards.
Separate the cards in the single row by cutting along the line between each card.
I know this isn’t a very detailed guide, but I hope it’s enough for you to get the gist of it and work it out (I made this guide out of some old photos I had laying around since I don’t have the opportunity to make anything new at the moment).
I know this isn’t a very detailed guide, but I hope it’s enough for you to get the gist of it and work it out.
(I made this guide out of some old photos I had laying around since I don’t have the opportunity to make anything new at the moment).
The quarantine is hard on all of us, but it’s also very necessary. I hope my game and this tutorial can help you pass the time and have some fun with your family while you’re all stuck inside. Also, it’s a great time to reread some Calvin and Hobbes!


